Largest Selection of New and Used Office Furniture! Call 1-855-885-3375 or visit a showroom today!
When tackling home improvement projects, selecting the right materials is crucial. One such material that often gets overlooked is Acrylic Sealant. According to John Smith, a leading expert in construction materials, "The right Acrylic Sealant can make or break a project’s success." His insights highlight the importance of choosing a sealant that meets both functional and aesthetic needs.
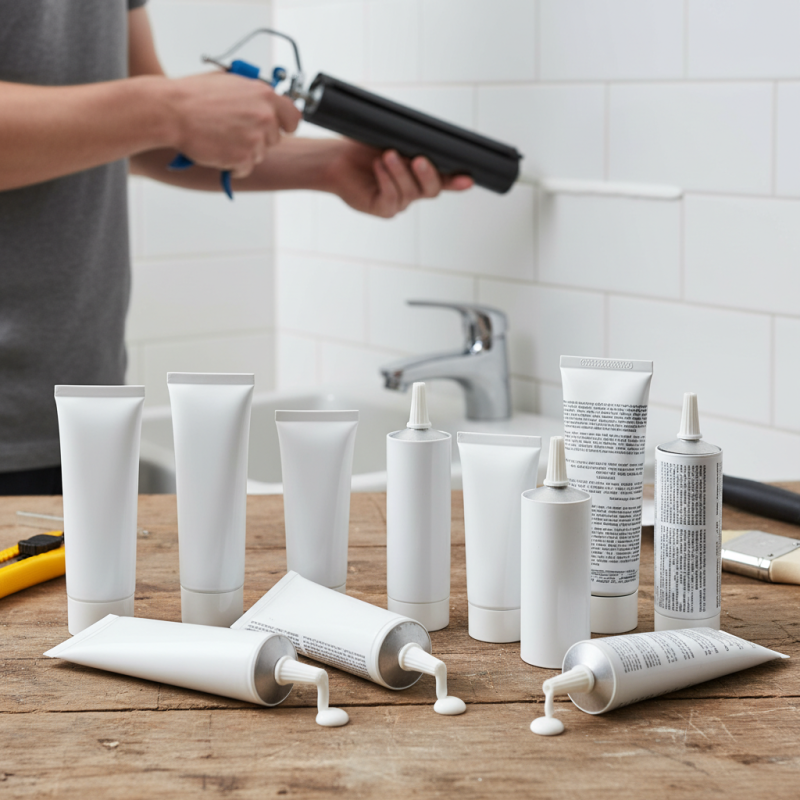
Acrylic Sealants are versatile and can be used in various applications. They work well for sealing gaps, cracks, and joints in areas like kitchens and bathrooms. Their paintable nature allows homeowners to match the sealant to their decor easily. However, not all Acrylic Sealants are created equal. Some may lack durability or flexibility over time, leading to potential issues.
Choosing the right Acrylic Sealant can be daunting. With so many options, the decision may feel overwhelming. Reflecting on various product reviews can highlight strengths and weaknesses, guiding your choice. Investing time in selecting the best Acrylic Sealant can ensure long-lasting results and ultimately enhance your home’s beauty and functionality.
When selecting acrylic sealants for home use, consider the application carefully. Different projects require varying properties from sealants. For example, some sealants need to resist moisture effectively, while others should withstand temperature changes. Knowing the intended use helps narrow down choices.
Another critical factor is flexibility. Sealants that can expand and contract with temperature shifts are essential for exterior applications. They help prevent cracking and ensure a longer-lasting seal. Evaluate the drying time as well. Some sealants set quickly, which can be beneficial for urgent repairs, while others may take longer but offer a more durable finish.
Don't overlook the importance of formulation. Some sealants contain additives to enhance adhesion or resistance to mold and mildew. Checking for certifications can also provide assurance of quality. Remember, the right choice hinges on balancing these factors. Reflecting on specific needs and project requirements can sometimes be daunting but is essential for success in home improvement.
When choosing acrylic sealants for home improvement, various brands offer different features. Each brand has its strengths and weaknesses. For instance, some sealants boast superior adhesion, while others excel in flexibility. This variation can impact the success of your projects significantly. Evaluating the drying time is crucial. Some cure quickly, which is great for efficiency, but might not allow for repositioning.
Moreover, the ease of application is another factor to consider. Certain sealants glide smoothly, allowing for precise lines, while others may require more effort to spread. Surface compatibility also varies; some work better on painted surfaces, while others bond well with plastics or wood. Users often find that their specific project needs can lead to unexpected challenges, prompting a deeper analysis of available options.
Lastly, longevity and durability play essential roles. A product may initially seem perfect but could fail over time. Therefore, researching user reviews can provide insight into long-term performance. Not all sealants hold up against mold or extreme weather as promised. It’s wise to reflect on your previous experiences with these products, as they can guide future choices in acrylic sealants.
| Acrylic Sealant Type | Best For | Drying Time | Flexible? | Paintable? | Price Range |
|---|---|---|---|---|---|
| General Purpose | Indoor/Outdoor Sealant | 1-2 hours | Yes | Yes | $5-$10 |
| Silicone-Acrylic Blend | Windows and Doors | 2-3 hours | Yes | Yes | $8-$15 |
| Construction Sealant | Heavy Duty Use | 24 hours | Yes | No | $15-$25 |
| Exterior Sealant | Outdoor Projects | 1-3 hours | Yes | Yes | $6-$12 |
| Acoustic Sealant | Soundproofing | 1-2 hours | Yes | No | $10-$18 |
| Fast Dry Sealant | Quick Repairs | 30 minutes | Yes | Yes | $7-$14 |
| High-temperature Sealant | Heated Areas | 2-4 hours | Yes | Yes | $9-$16 |
| Clear Sealant | Invisible Bonds | 2-6 hours | Yes | Yes | $4-$10 |
| Weatherproof Sealant | Extreme Conditions | 3-12 hours | Yes | Yes | $12-$20 |
| Eco-Friendly Sealant | Sustainable Projects | 1-3 hours | Yes | Yes | $7-$13 |
Choosing the right acrylic sealant for home improvement projects involves understanding its performance metrics, especially durability and weather resistance. Reports indicate that sealants must provide long-lasting protection against moisture, UV rays, and temperature fluctuations. A study published by the Construction Industry Research Institute states that high-quality acrylic sealants can last up to 20 years with proper application.
Durability is often measured by tensile strength and elongation. Sealants need to stretch with building materials without cracking. The National Institute of Building Sciences found that sealants should ideally handle movements up to 25%. This flexibility is crucial to prevent leaks in varying climates. Weather resistance is pivotal; sealants exposed to harsh conditions may deteriorate quickly. Research shows that acrylic sealants perform better when infused with additives, enhancing their resistance to mold and mildew.
Homeowners often overlook installation techniques. Even top-rated sealants can fail due to improper application. Surface preparation is vital. A clean, dry surface ensures maximum adhesion. Neglecting this step can lead to peeling or reduced lifespan. Regular inspections after application can help address early signs of wear. Engaging with experienced professionals can provide insights, but DIY enthusiasts must also consider manufacturer guidelines for optimal performance.
When working with acrylic sealants, proper application techniques can significantly influence the project outcome. Start by selecting a clean surface. Dust, dirt, and grease can prevent adhesion. A recent study highlighted that surfaces prepared with a cleaner had 25% better adhesion rates (Source: Building Science Corporation). Applying a primer can also enhance bonding, especially on porous surfaces.
For optimal application, use a caulking gun with a steady pressure. Apply the sealant in a continuous motion for a smooth finish. Avoid stopping midway as this can cause inconsistencies. A survey conducted by the Home Improvement Research Institute found that 70% of professionals emphasize this technique for achieving clean lines.
Tips: Practice makes perfect. Use scrap materials to hone your technique. Additionally, consider using masking tape for clean edges. This can reduce mess and save time on cleanup. Always ensure your workspace is well-ventilated. Acrylic sealants can emit fumes that, while generally safe, may require time to dissipate.
Acrylic sealants are gaining popularity for home improvement projects. These products offer flexibility and durability. Many homeowners appreciate their ease of use and cost-effectiveness. They are ideal for varying surfaces, including wood, metal, and plastic, making them versatile.
When comparing acrylic sealants to other types, the cost-benefit ratio often favors acrylics. They tend to be more affordable without sacrificing quality. While silicone sealants may provide superior moisture resistance, they are generally pricier. In contrast, acrylics require simpler application techniques and are paintable. This can save money on additional materials.
However, it’s essential to consider application challenges. Acrylic sealants may not perform as well in extreme weather conditions compared to other options. They can also shrink over time, leading to cracks. It's worth evaluating your project needs before making a decision. Consider the specific requirements and long-term performance for your projects.
This bar chart presents a cost comparison of various acrylic sealants and other sealant types for home improvement projects. The data reflects average costs per tube, allowing for a cost-benefit evaluation between acrylic and alternative sealant options.